

The easiest tutorial to setup OpenGL in VSCode
If you want to work with Open GL in VS Code, but are having trouble finding any source to help you out? Follow this simple tutorial to setup Open GL.


OpenGL is an API (Application Programming Interface) used for rendering 2D and 3D graphics. It provides a set of functions for creating and manipulating graphics objects such as vertices, textures, and shaders.
To work with OpenGL, you have to import its library to the programming language, of your choice, be it C++ or Python. Now, this is where the trouble starts as there is no specific IDE for OpenGL, and this confuses a lot of newbies.
Prerequisites:
For this tutorial to work, you must have VS Code and c++ installed in your system.
Installing c++ to your system
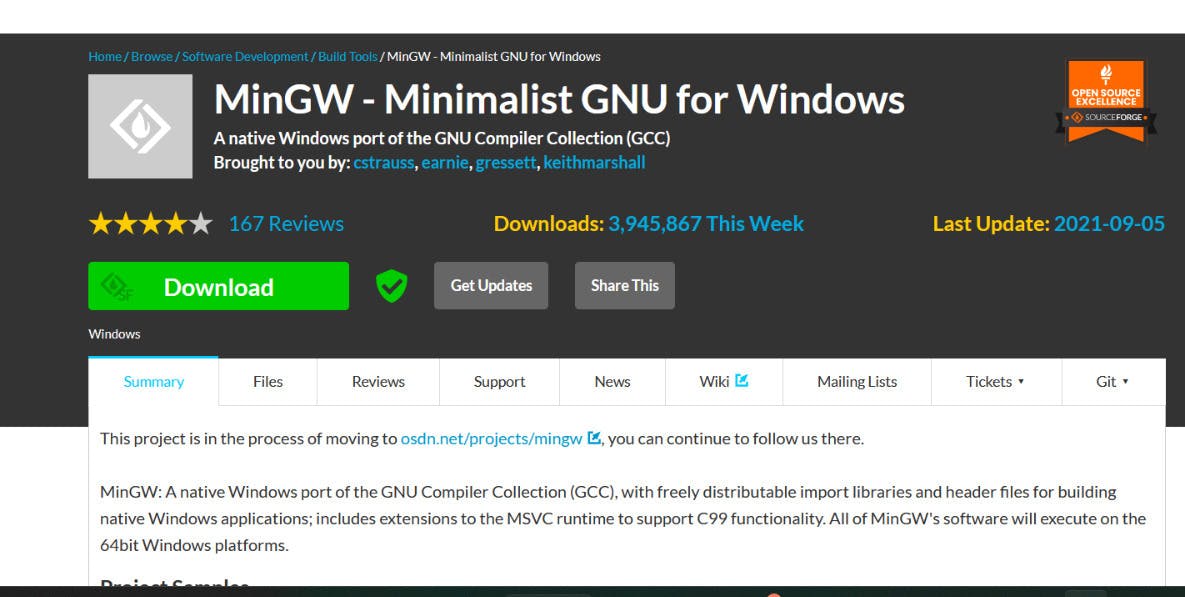
Go to this link and download MINGW minimalist GNU
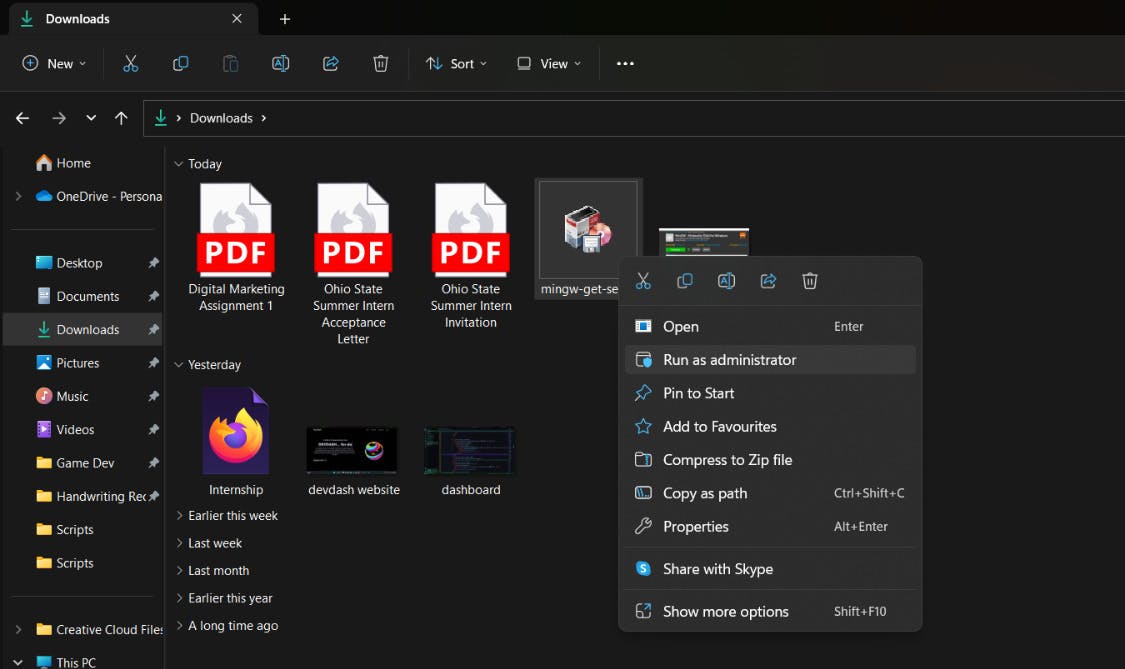
Once downloaded, open the setup file and run as administrator
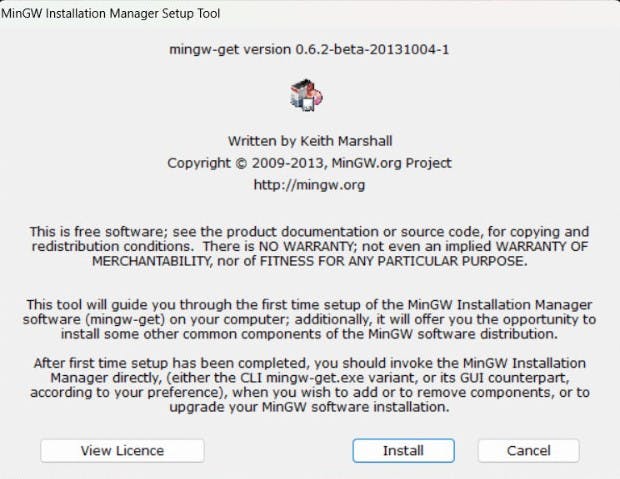
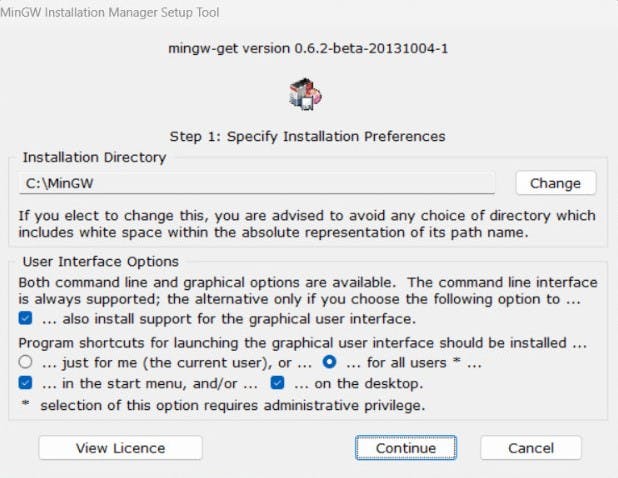
Click on the 'install' button to start the installation process
Select the installation directory (I would recommend installing in C drive if you are not experienced with path settings) and click on 'continue' to move forward
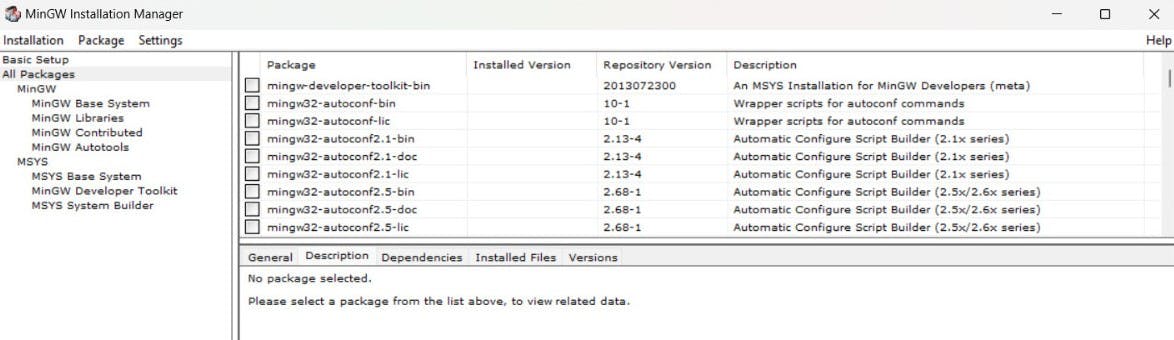
Once the installation process is completed, you will be welcomed with the following window:
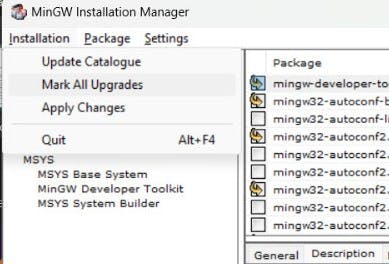
Next, under the 'Installation' drop-down click on 'Mark All Upgrades' and then the 'Apply Changes' option
Once, the installation is completed, click on 'Finish'
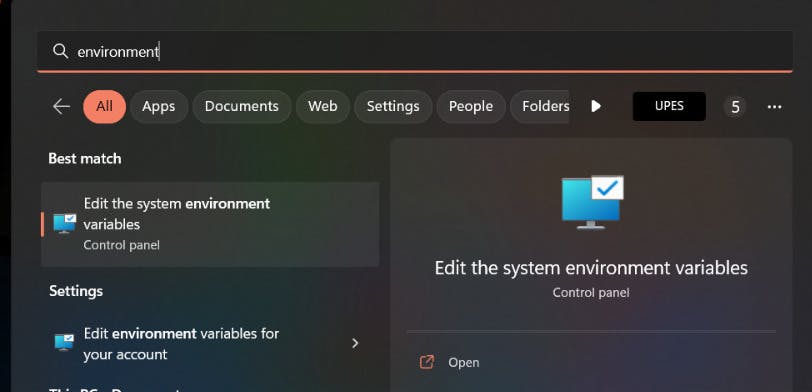
Now in the search bar type 'Environment variables' and then open 'Edit the system environment variables '.
Under 'User Variables' double-click on the 'Path' option
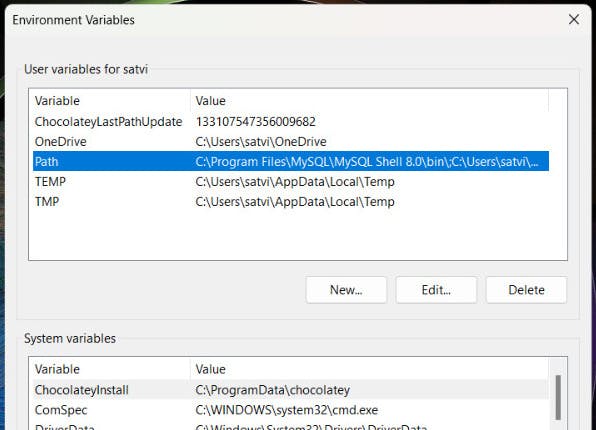
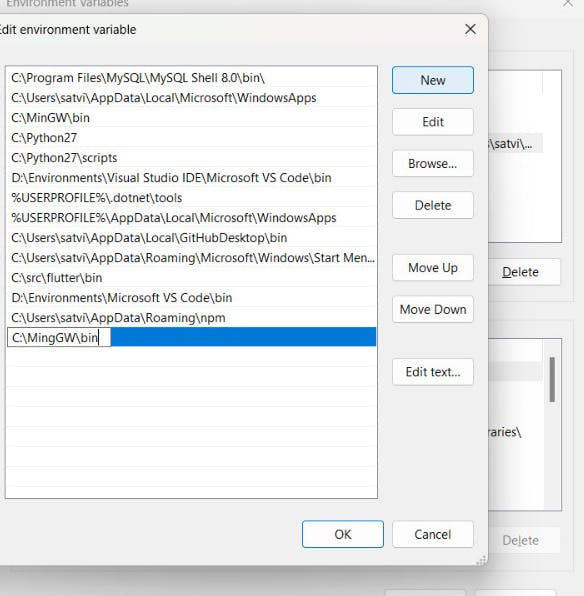
Add the path to 'MinGW\bin' installed in the system and apply changes.
Once done, verify if g++ is installed in your system or not by using the following command in your cmd - 'c++ -v'

Congratulations, you have installed c++ in your system!
Installing python in your system
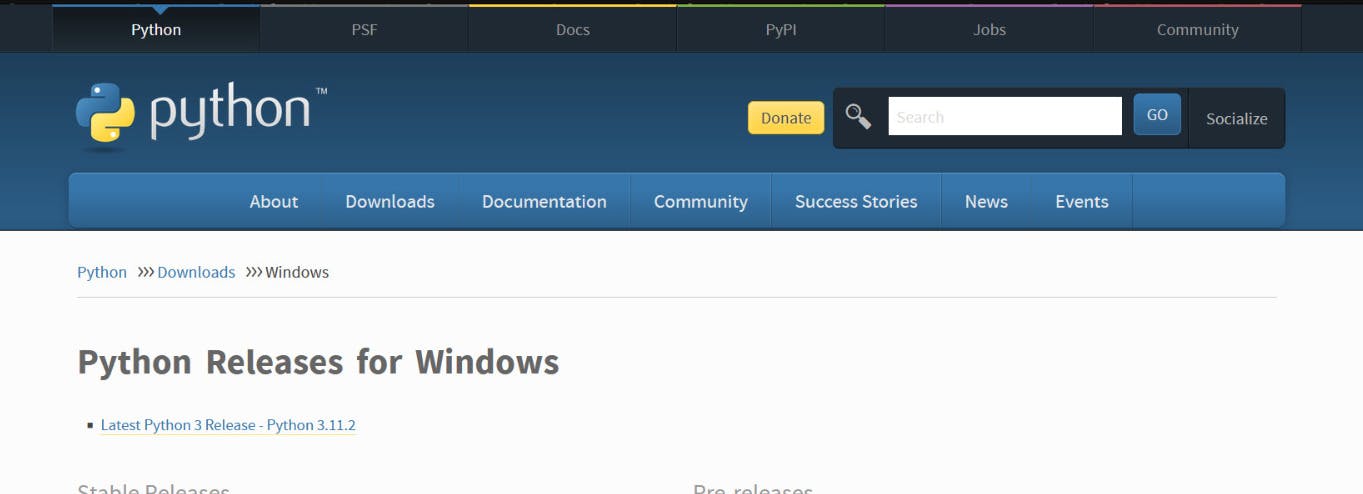
Unlike, c++ python installation is much simpler. All you have to do is download the compatible installer based on your system, and then follow the instructions in the installer. Link to install python -version 3.10.10
Once, installed you can again verify using the command 'python --version' in cmd.

Installing VS Code in your system
Installing VS code is again straightforward. All you have to do is follow the instructions in the installer and viola!
Setting up Open GL in VS Code
Now, with all prerequisites satisfied let's get to business and configure Open GL in your system. There are three major steps to configure Open GL in your system;
Installing all the dependencies
Setting up a project with the dependencies
Configuring and compiling the project
Installing all the dependencies required for Open GL
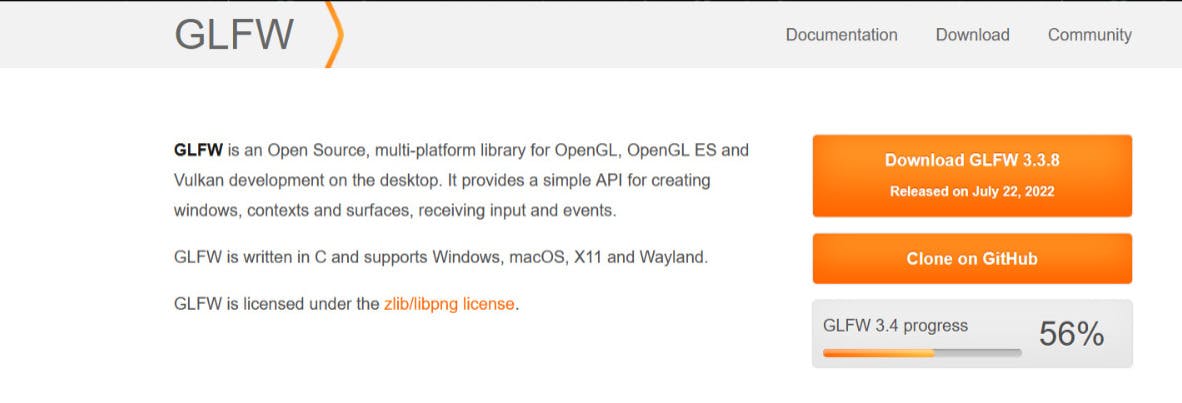
Install GLFW
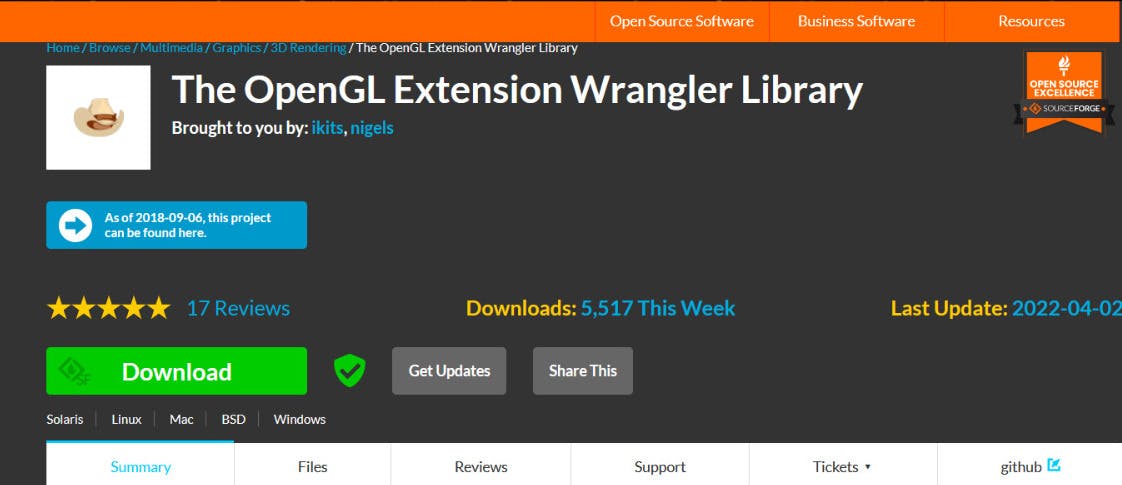
Install GLEW
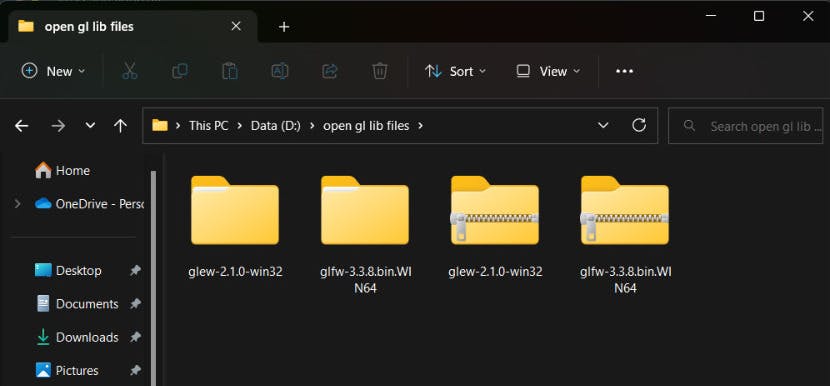
Now, create a new folder and copy these installed files into that folder.
Extract the contents of the installed folders.

Setting up a project in VS Code
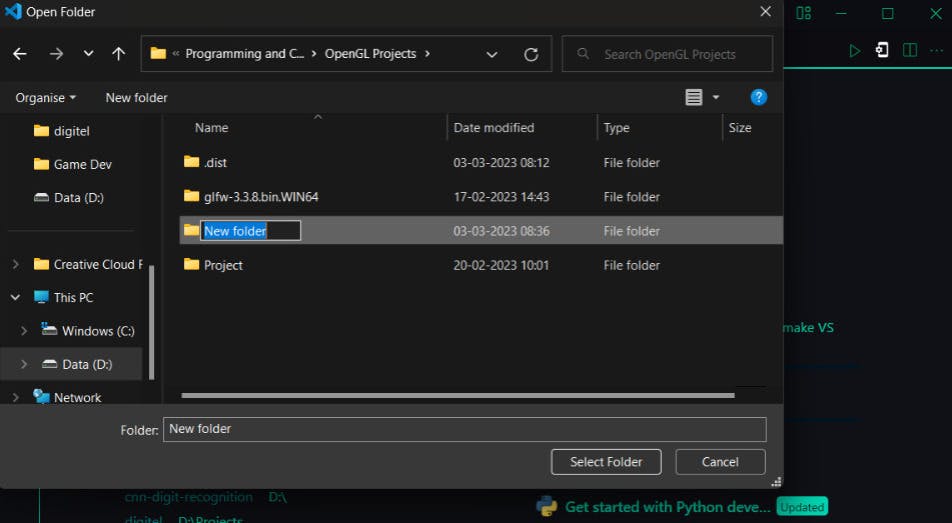
Open VS Code and click on the 'Open Folder' option
Create a New Folder, in your desired location. These will be the project folder for your Open GL projects
Create a new folder, named dependencies, inside your Project folder.
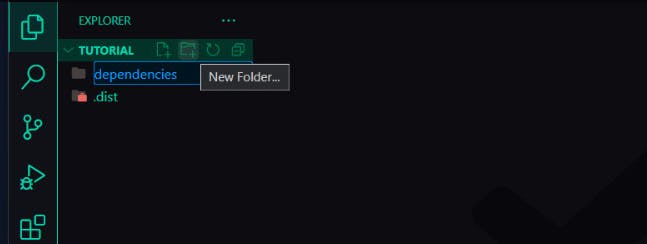
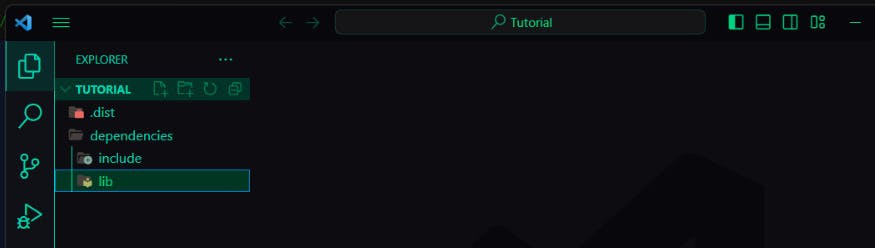
Inside the dependencies folder, create two more folders
include
lib
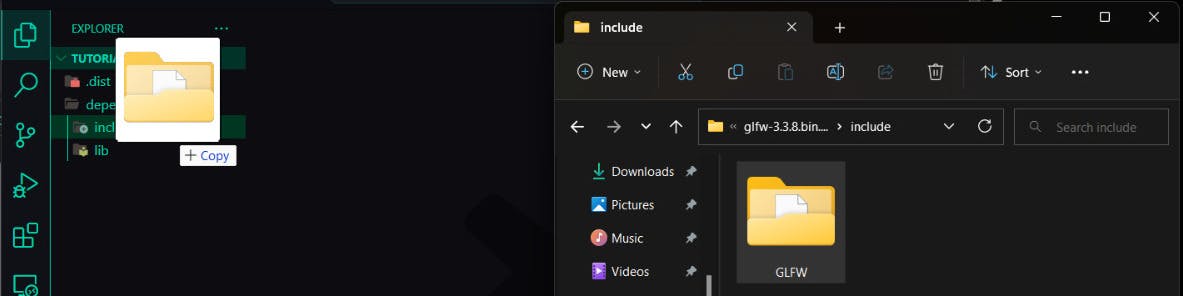
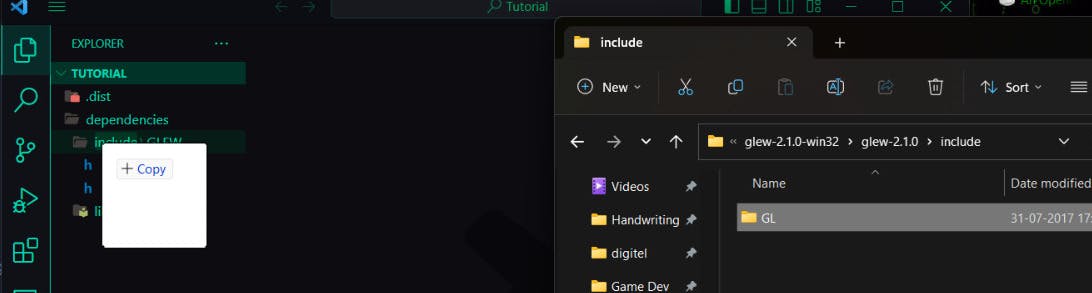
Inside the 'include' folder of your project, copy the contents from the 'include' folder inside the installed glfw file and the contents of the 'include' folder inside the installed glew file.
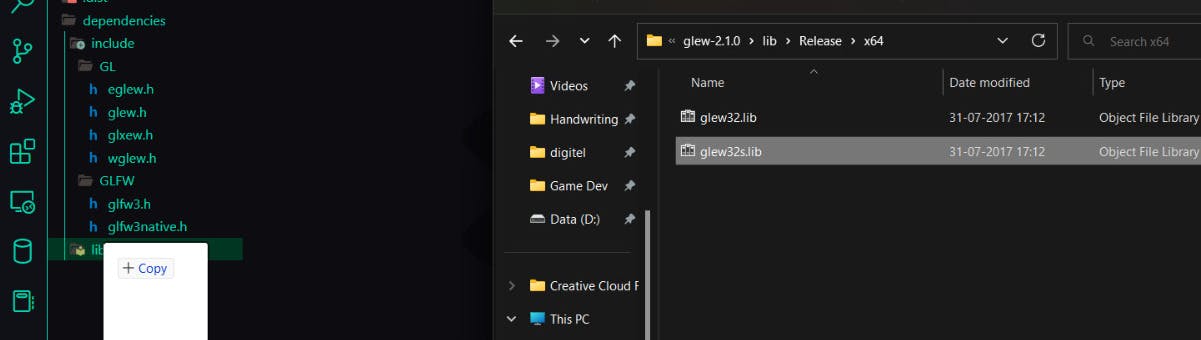
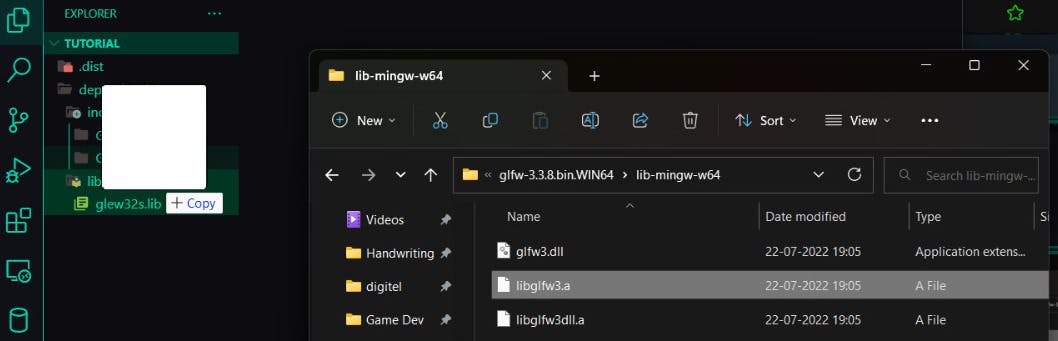
Now inside the lib folder of your project folder, copy glew32s.lib file from the "lib" folder of the installed glew file, and the libglfw3.a file from the "lib" folder of the installed glfw file.
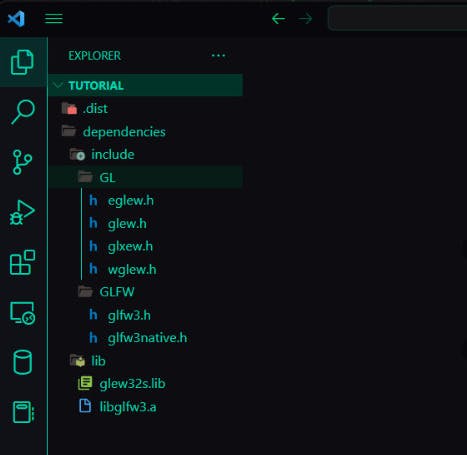
Once done, your project will look like this
Now, we have completed our setup, now we can move on to the final part of this tutorial.
Configuring and compiling the project
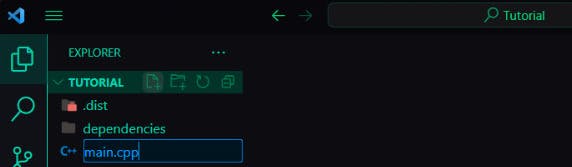
Create a new file main.cpp in your project folder
Copy these lines of code inside your main.cpp file
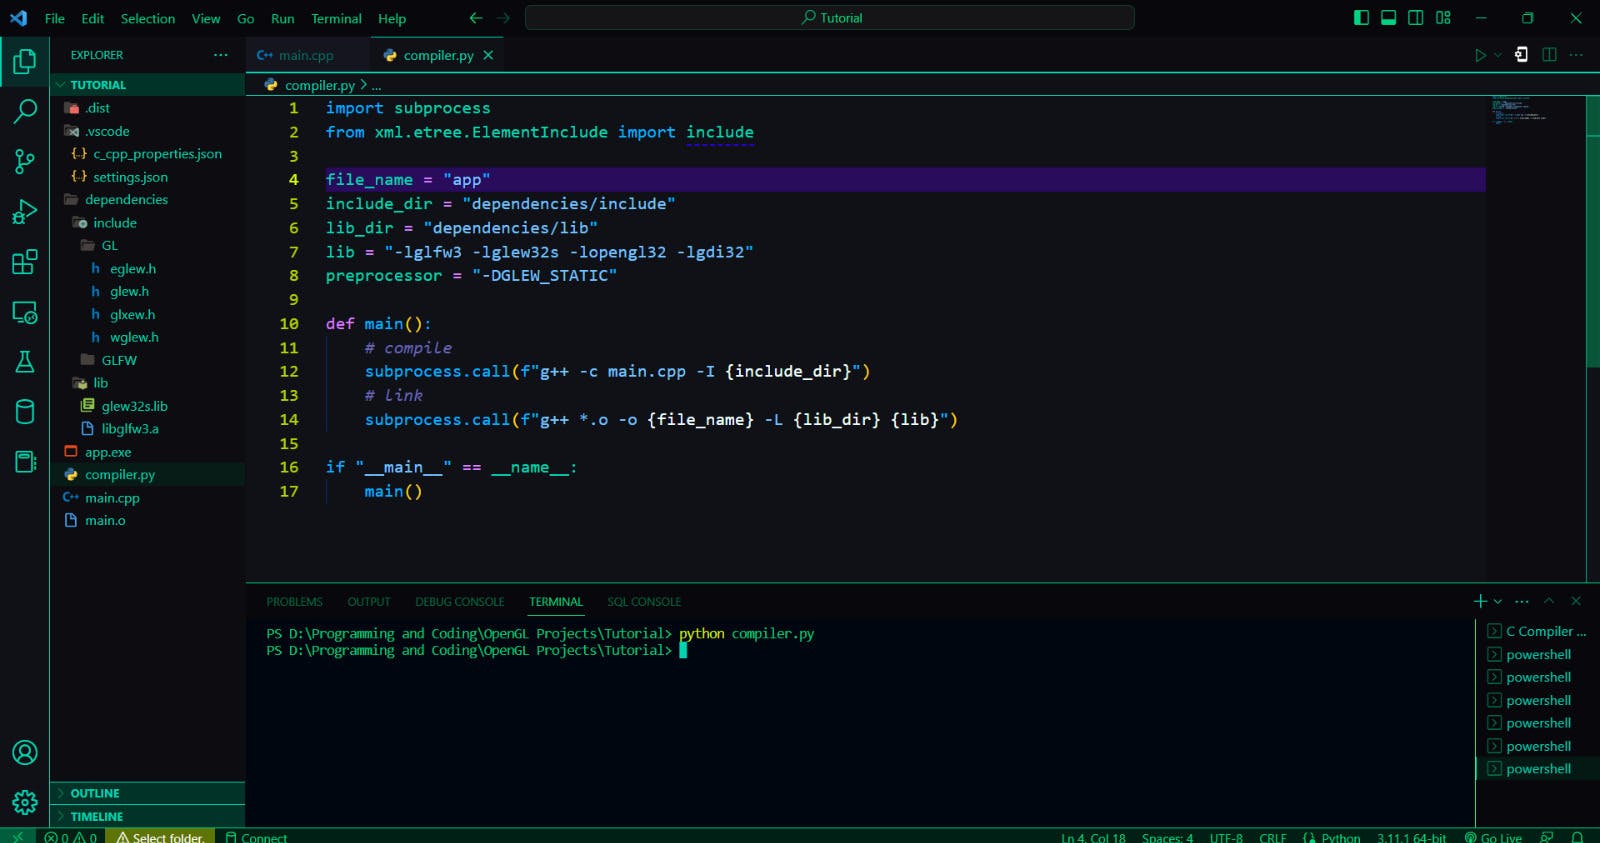
 #include <iostream>
 using namespace std;
 #include <GL/glew.h>
 #include <GLFW/glfw3.h>
 int main(void)
 {
     GLFWwindow* window;
     /* Initialize the library */
     if (!glfwInit())
         return -1;
     /* Create a windowed mode window and its OpenGL context */
     window = glfwCreateWindow(640, 480, "Hello World", NULL, NULL);
     if (!window)
     {
         glfwTerminate();
         return -1;
     }
     /* Make the window's context current */
     glfwMakeContextCurrent(window);
     /* Loop until the user closes the window */
     while (!glfwWindowShouldClose(window))
     {
         /* Render here */
         glClear(GL_COLOR_BUFFER_BIT);

         /*
         YOUR CODE HERE
         */

         /* Swap front and back buffers */
         glfwSwapBuffers(window);
         /* Poll for and process events */
         glfwPollEvents();
     }
     glfwTerminate();
     return 0;
 }
Now, inside your project folder create a new python file compiler.py and copy these lines of code.
 import subprocess
 from xml.etree.ElementInclude import include

 file_name = "app"
 include_dir = "dependencies/include"
 lib_dir = "dependencies/lib"
 lib = "-lglfw3 -lglew32s -lopengl32 -lgdi32"
 preprocessor = "-DGLEW_STATIC"

 def main():
     # compile
     subprocess.call(f"g++ -c main.cpp -I {include_dir}")
     # link
     subprocess.call(f"g++ *.o -o {file_name} -L {lib_dir} {lib}")

 if "__main__" == __name__:
     main()
Open the terminal inside VS Code using the shortcut keys "shift + ctrl + `" or by using the terminal option in the window panel, and use the following command.

Once, compiled successfully you will see a main.o and app.exe file created inside your project window.
Congratulations, you have completed the Open GL setup in VS Code. Follow the next step to write your first code in Open GL.
Coding your first program in Open GL
Now, that our setup is completed let's write our first program to draw a circle.
Copy the following code in your main.cpp file
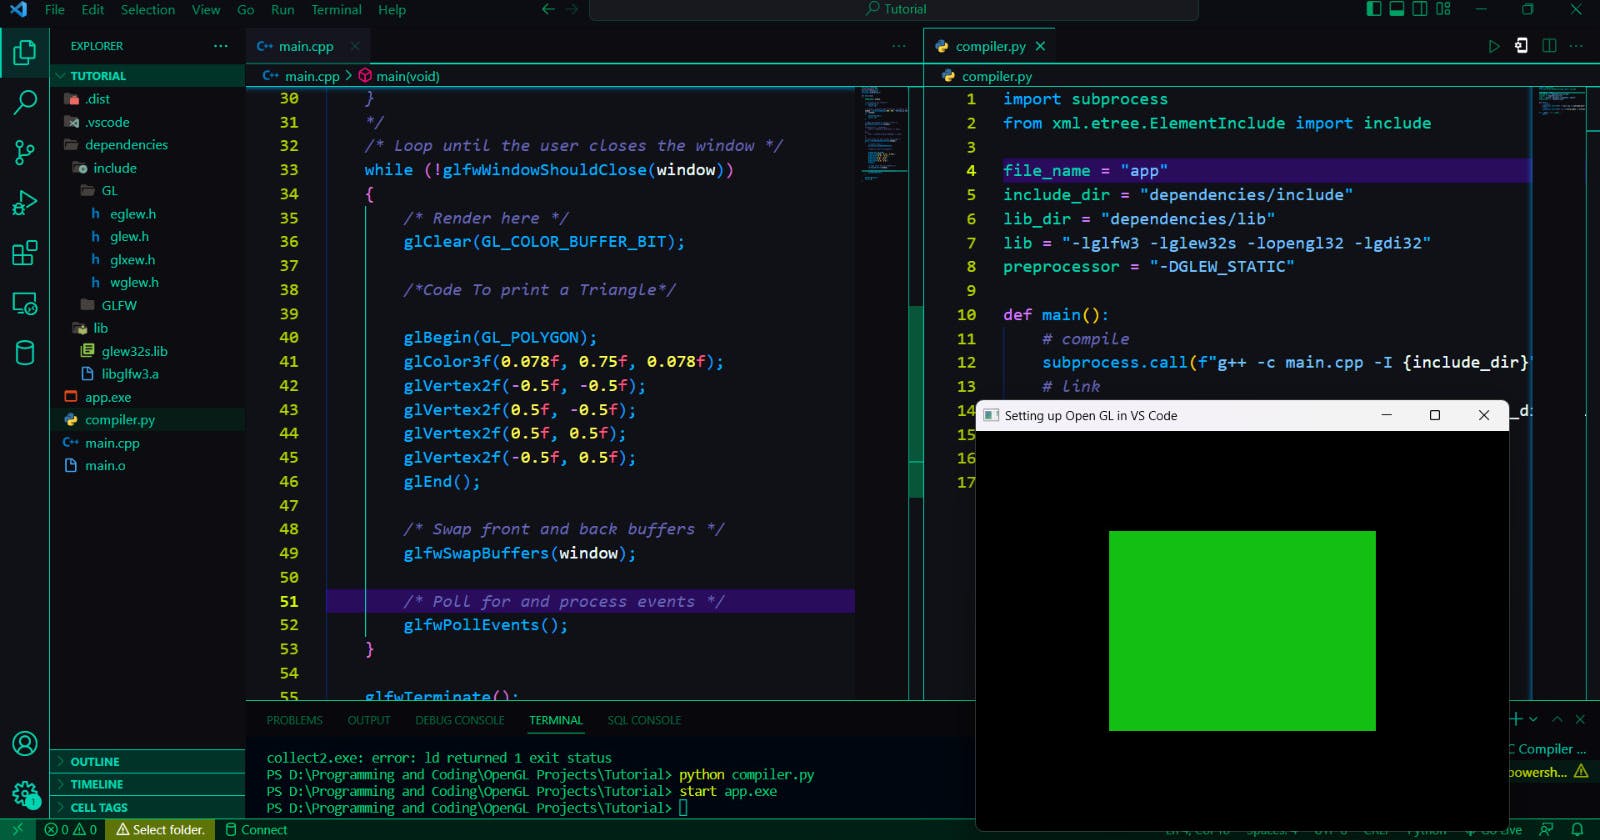
 #include <iostream>
 using namespace std;
 #include <GL/glew.h>
 #include <GLFW/glfw3.h>

 int main(void)
 {
     GLFWwindow* window;

     /* Initialize the library */
     if (!glfwInit())
         return -1;

     /* Create a windowed mode window and its OpenGL context */
     window = glfwCreateWindow(640, 480, "Hello World", NULL, NULL);
     if (!window)
     {
         glfwTerminate();
         return -1;
     }

     /* Make the window's context current */
     glfwMakeContextCurrent(window);
     /*
     if(glewInit() != GLEW_OK){
         cout << "Unable to load glew" << endl;
     }
     else{
         cout << glGetString(GL_VERSION) << endl;
     }
     */
     /* Loop until the user closes the window */
     while (!glfwWindowShouldClose(window))
     {
         /* Render here */
         glClear(GL_COLOR_BUFFER_BIT);

         /*Code To print a Triangle*/

         glBegin(GL_POLYGON);
         glVertex2f(-0.5f, -0.5f);
         glVertex2f(0.5f, -0.5f);
         glVertex2f(0.5f, 0.5f);
         glVertex2f(-0.5f, 0.5f);
         glEnd();

         /* Swap front and back buffers */
         glfwSwapBuffers(window);

         /* Poll for and process events */
         glfwPollEvents();
     }

     glfwTerminate();
     return 0;
 }
Open the terminal in VS Code and execute the following command "python compiler.py"

If the compilation is successful, you will find app.exe and main.o files inside your project folder.
In the terminal write "start app.exe" to view your output.

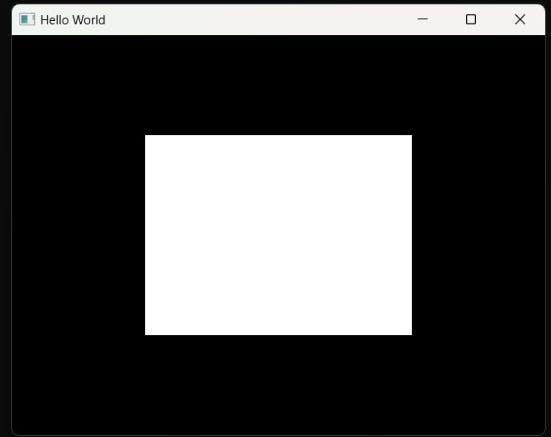
If everything goes right, you will see the following output!
Congratulations 🥳
We are now done with this tutorial. I will be updating this blog from time to time for any updates or resolving errors. If in case you see any errors while following this tutorial do share them in the comments section so that we can try resolving them!
Resolving Errors
In case you get some error related to "undefined reference" or "undefined path", try making these changes to your system. Usually this happens due to improper path configurations for GLEW and GLFW libraries.
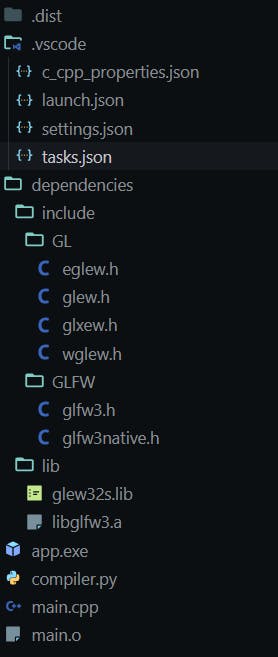
To resolve this inside your ./vscode directory add a new file tasks.json:
{
    "tasks": [
      {
        "type": "cppbuild",
        "label": "C/C++: g++.exe build active file",
        "command": "C:\\msys64\\ucrt64\\bin\\g++.exe",
        "args": [
          "-fdiagnostics-color=always",
          "-g",
          "${file}",
          "-o",
          "${fileDirname}\\${fileBasenameNoExtension}.exe",
          "-I",
          "C:\\glew-2.1.0\\include",
          "-L",
          "C:\\glew-2.1.0\\lib\\Release\\x64",
          "-L",
          "C:\\glfw-3.3.8.bin.WIN64\\lib-mingw-w64",
          "-lglfw3dll",
          "-lglew32",
          "-lopengl32"
        ],
        "options": {
          "cwd": "${fileDirname}"
        },
        "problemMatcher": ["$gcc"],
        "group": {
          "kind": "build",
          "isDefault": true
        },
        "detail": "Task generated by Debugger."
      }
    ],
    "version": "2.0.0"
  }
Also update the "includePath" property inside the c_cpp_properties.json as follows:
"includePath": ["${workspaceFolder}/**",
    "C:\\glfw-3.3.8.bin.WIN64\\include",
    "C:\\glew-2.1.0\\include"
],
This might resolve any error caused due to improper path configurations.